环境版本:
centos7
jenkins:jenkins-2.169-1.1.noarch.rpm
查看版本:https://pkg.jenkins.io/redhat/
JDK:jdk1.8+
maven:3.5.0+
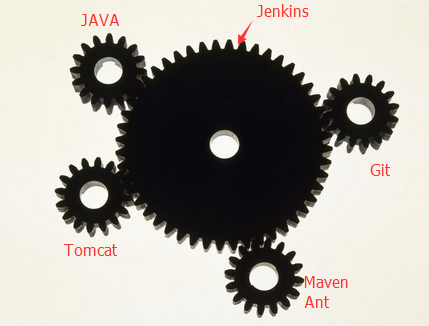
什么是jenkins:
Build great things at any scale.
The leading open source automation server, Jenkins provides hundreds of plugins to support building, deploying and automating any project.
总结:自动化部署。
解决开发中的人为编译操作会影响项目个模块。
官方文档:https://jenkins.io/doc/
中文文档:https://jenkins.io/zh/doc/
安装要求
A machine with:
256 MB of RAM, although more than 512MB is recommended
10 GB of drive space (for Jenkins and your Docker image)
至少256M内存,10G磁盘空间
The following software installed:
Java 8 (either a JRE or Java Development Kit (JDK) is fine)
Docker (navigate to Get Docker at the top of the website to access the Docker download that’s suitable for your platform)
环境Java8或者docker
安装Jenkins
1. 切换到超级管理员
2. 安装Jenkins
1
2
3
[root@wsk ~]# wget -O /etc/yum.repos.d/jenkins.repo https://pkg.jenkins.io/redhat/jenkins.repo
[root@wsk ~]# rpm --import https://pkg.jenkins.io/redhat/jenkins.io.key
[root@wsk ~]# yum install jenkins
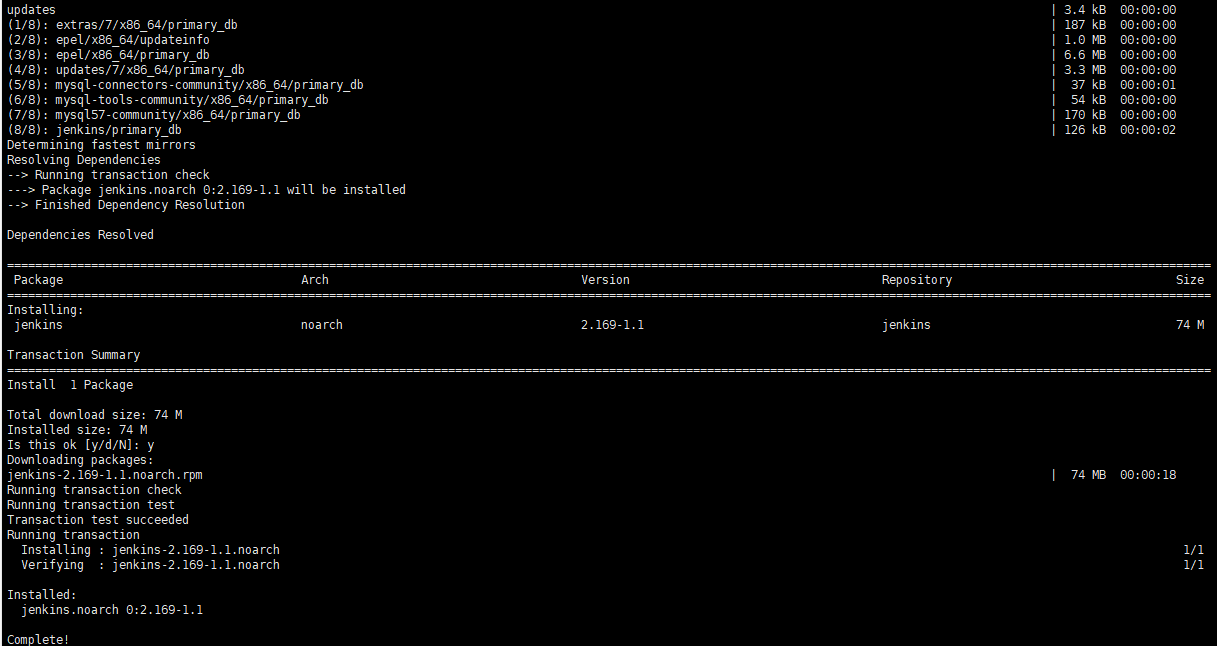
3. 查看安装结果
1
2
3
4
5
6
7
8
9
10
[root@wsk jenkins]# find / -name jenkins
/usr/lib/jenkins --这个文件夹里面存放的是war包
/etc/logrotate.d/jenkins
/etc/sysconfig/jenkins --配置文件
/etc/rc.d/init.d/jenkins
/var/lib/jenkins --JENKINS_HOME目录
/var/lib/yum/repos/x86_64/7/jenkins
/var/cache/jenkins
/var/cache/yum/x86_64/7/jenkins
/var/log/jenkins --jenkins日志文件
4. 配置文件修改(可选: 修改默认端口为8585)
在配置文件修改端口
1
2
3
4
5
6
7
8
9
10
11
12
13
## Type:        integer(0:65535)
## Default:     8080
## ServiceRestart: jenkins
#
# Port Jenkins is listening on.
# Set to -1 to disable
#
JENKINS_PORT="8585"

## Type:        string
## Default:     ""
## ServiceRestart: jenkins
5. 启动Jenkins
1
2
3
[root@wsk ~]# service jenkins start
Starting jenkins (via systemctl):                          [  OK  ]
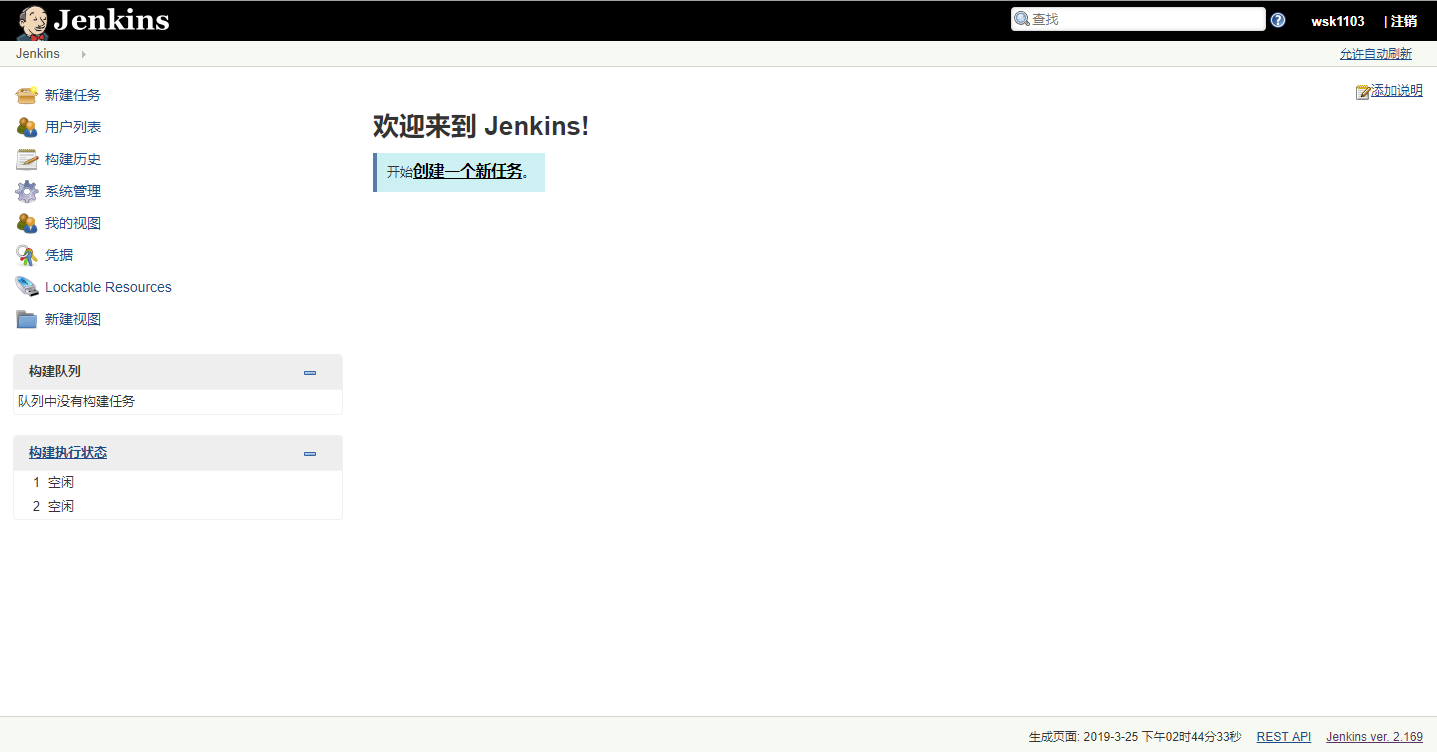
6. 访问网页
http://localhost:8585/
然后根据页面提示输入密码。
1
[root@wsk ~]# vi /var/lib/jenkins/secrets/initialAdminPassword
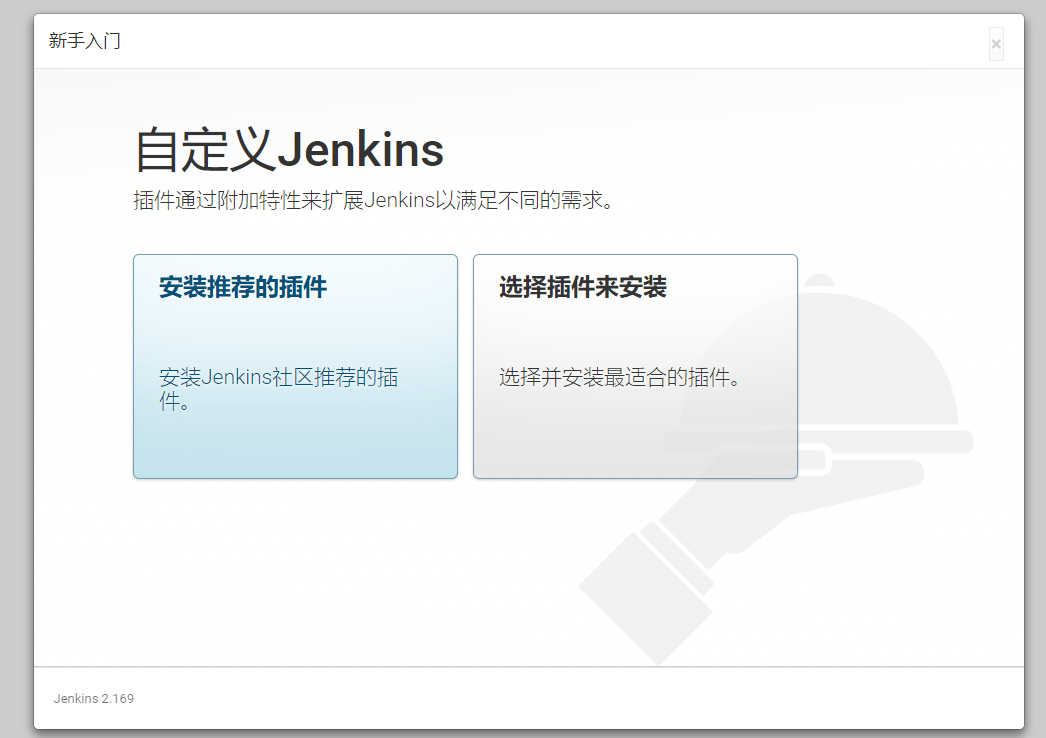
7. 可以选择默认安装或者自定义安装,一般选择自定义安装。
8. 按照流程进行输入。
9. 安装插件
9.1. 安装Maven
在系统管理->插件管理->可选安装, 中选择Maven Integration 并安装。可以使用页面的Ctrl+F全局搜索Maven Integration。
9.2 安装Console Column
控制界面情况
9.2 安装SSH
远程执行shell脚本插件
创建项目
Jenkins + GitHub 持续集成环境
配置信息
1. 安装GitHub插件
安装Github Plugin
2. GitHub配置
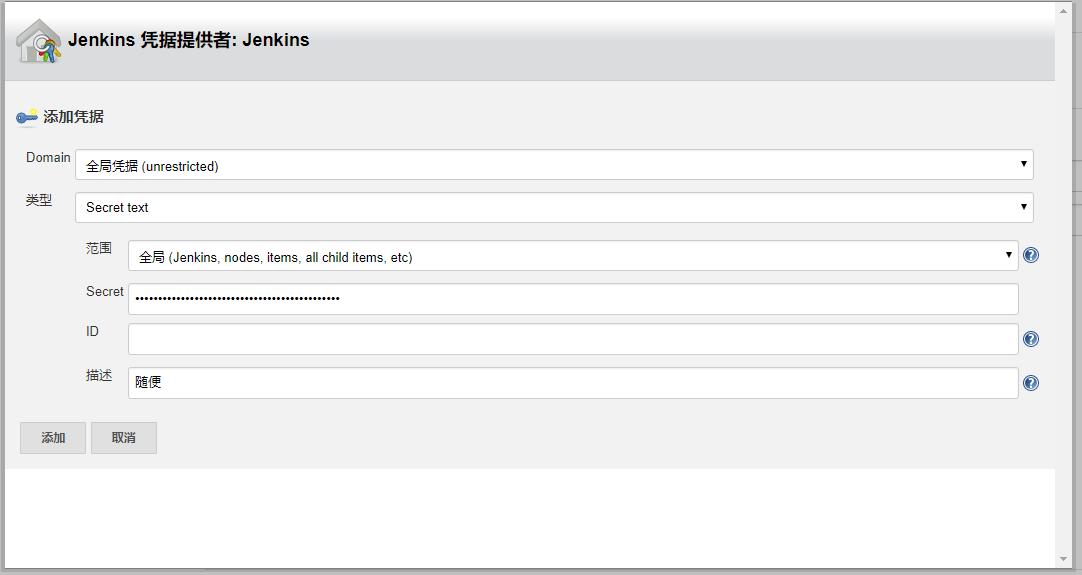
主要是配置获取 sercret text
目录:GitHub –> Settings –> Developer Settings –> Personal Access Token –> Generate new token
该账户需要对项目有写权限的权限
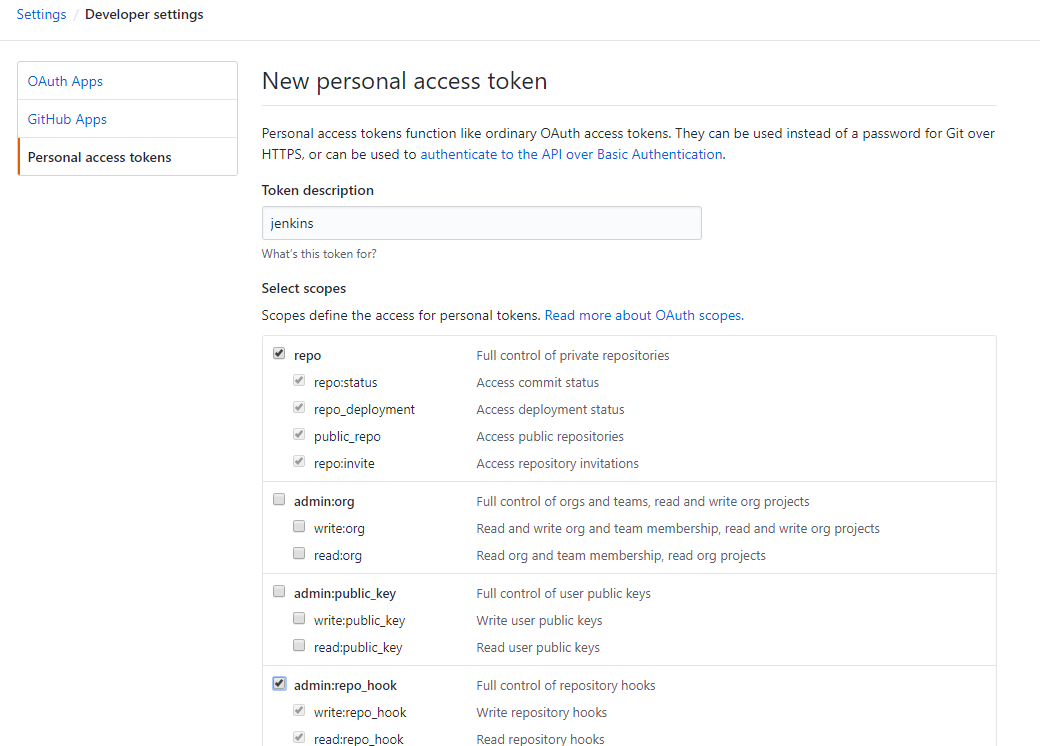
复制保存好 sercret text ,丢了就要重新申请。
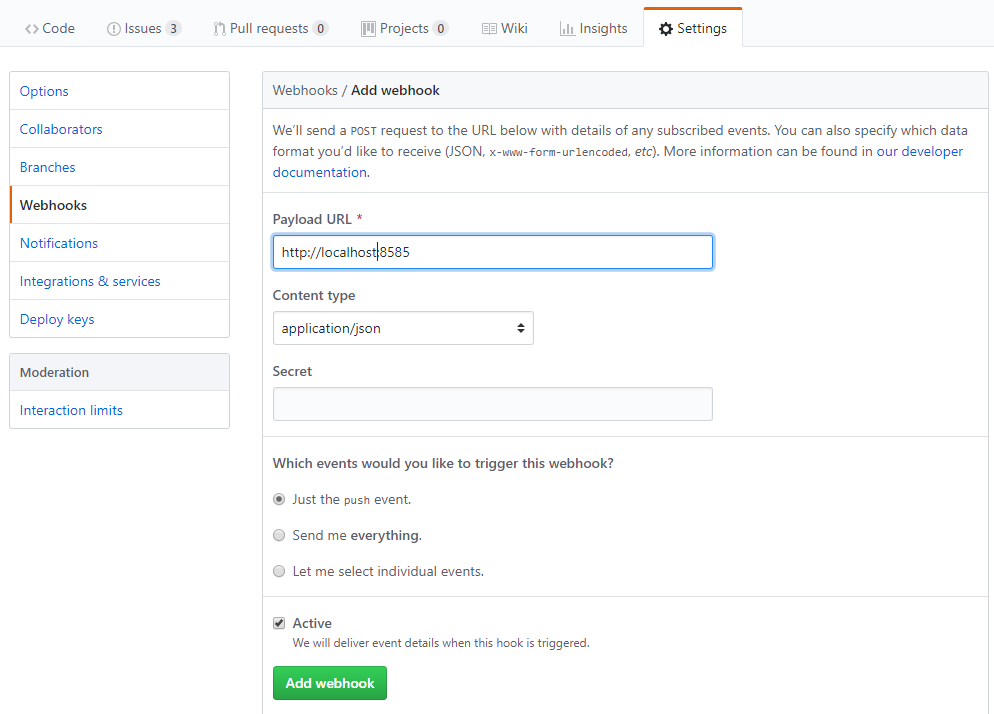
3. GitHub Webhooks 设置
GitHub上指定的项目 –> Settings –> WebHooks&Services –> add webhook –> 输入刚刚部署jenkins的服务器的IP
4. 配置Github插件
系统管理–>插件管理–>可选插件
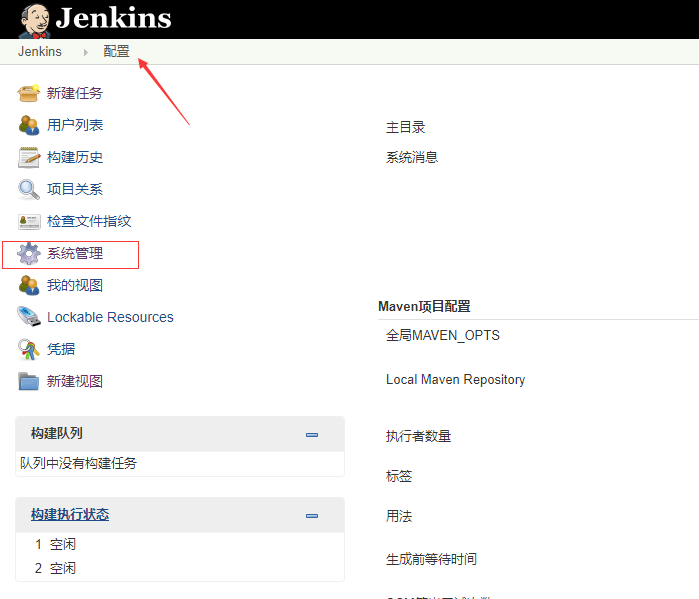
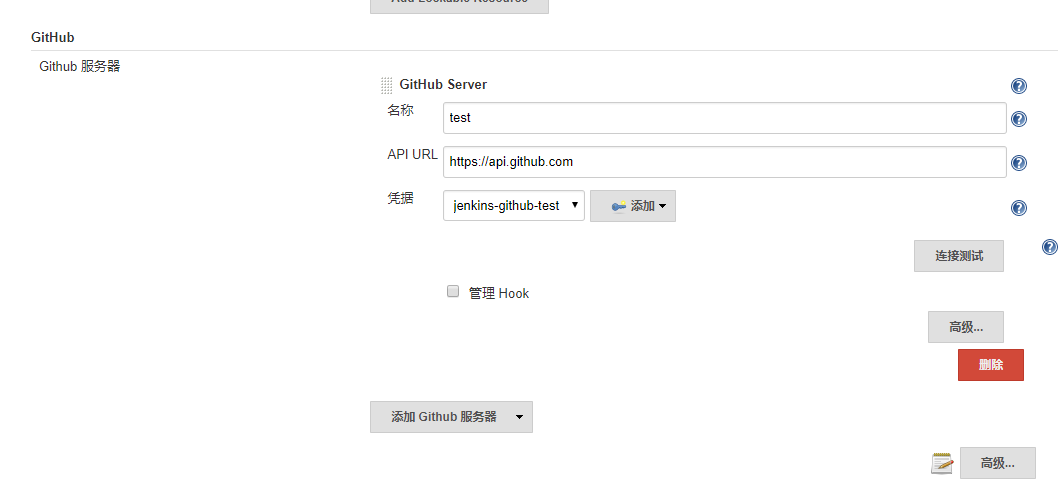
5. 设置Jenkins上的GitHub账户
系统管理 –> 系统设置 –> GitHub –> Add GitHub Sever
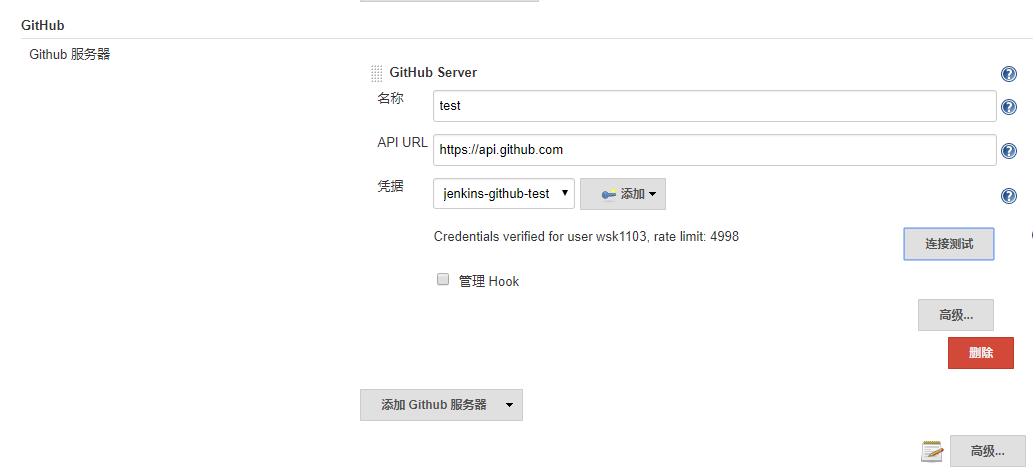
添加凭证
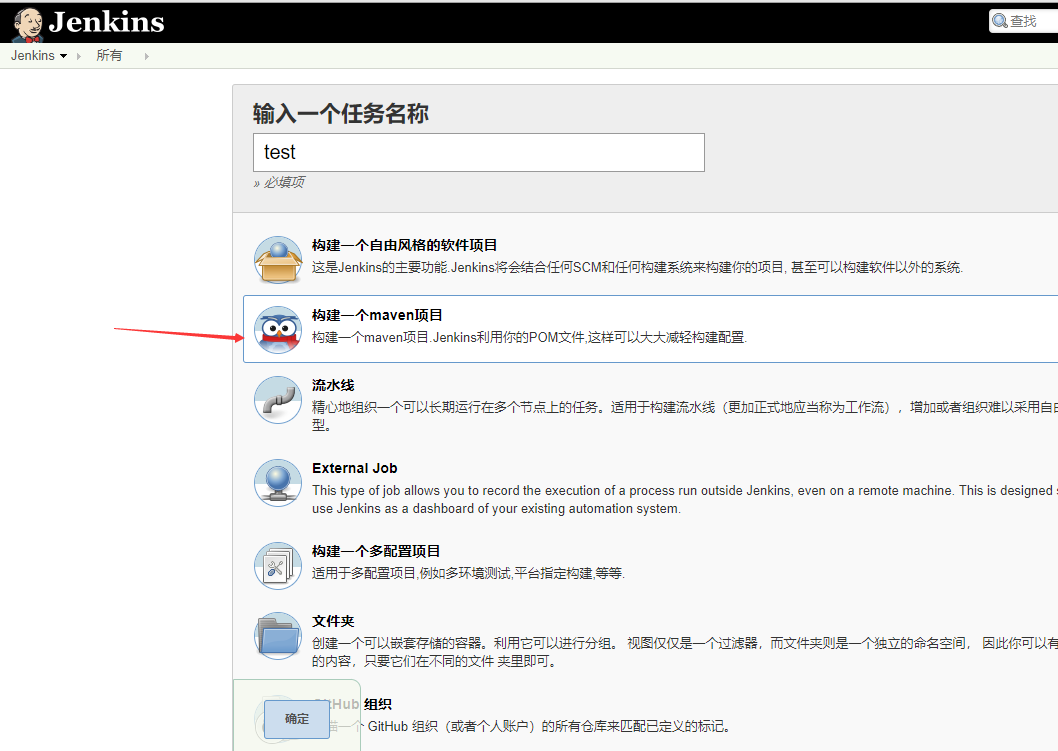
创建GitHub项目
1. 新建一个maven任务
配置目标GitHub项目地址
General 设置 填写GitHub Project URL
配置源码管理
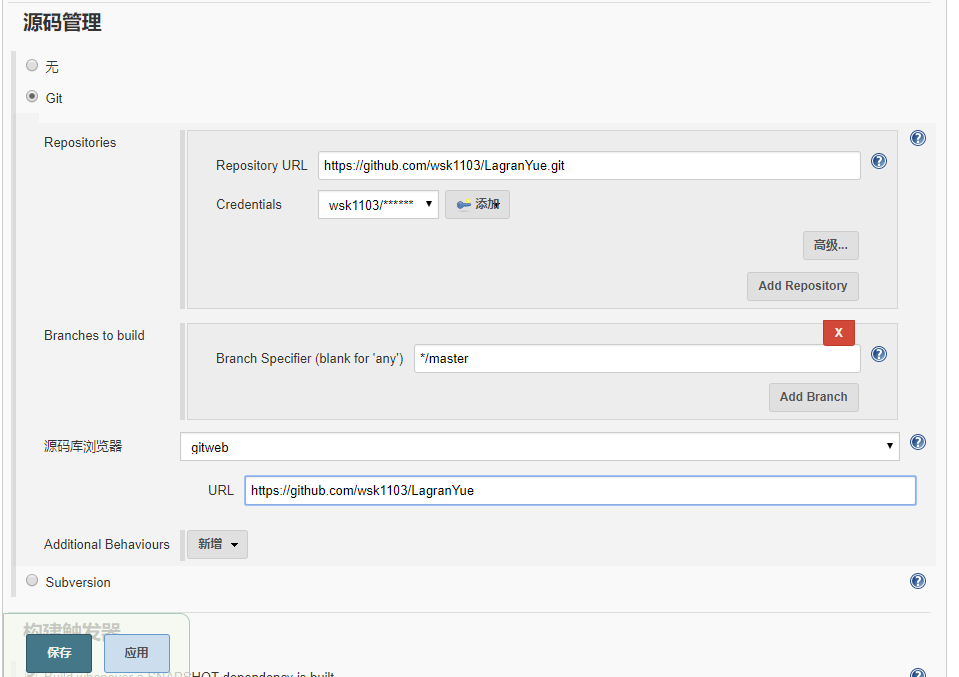
填写项目的git地址
凭证里面添加github用户和密码
其他默认
最好点击保存,既可。
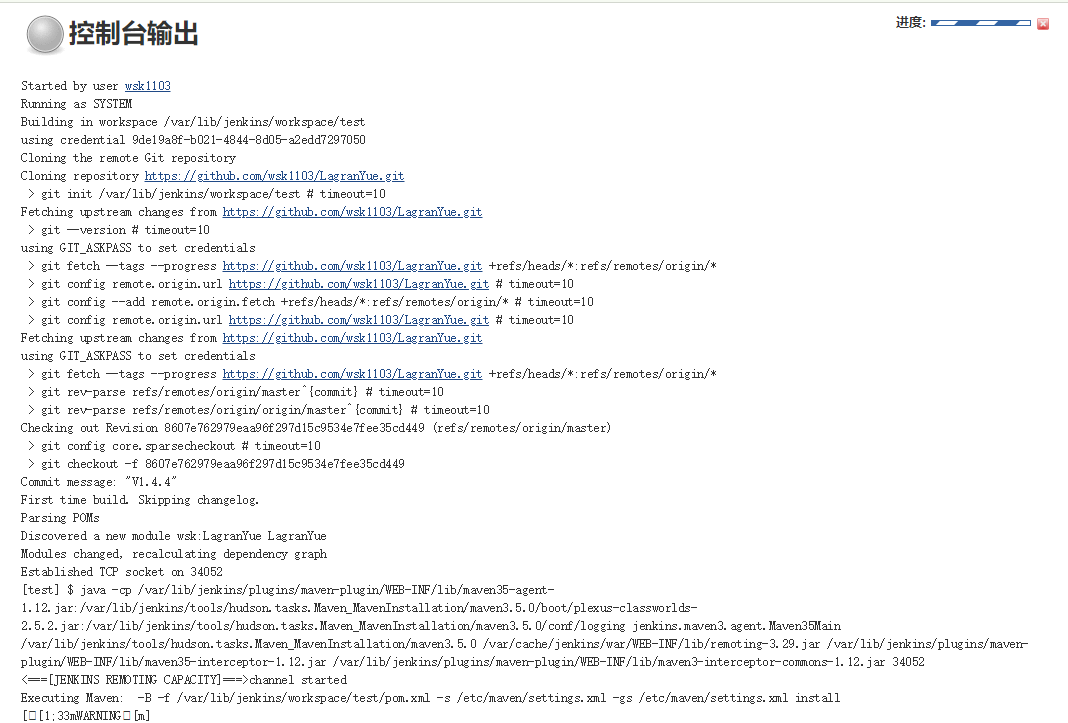
打版,控制台查看结果