备注:
官网:http://spring.io/projects/spring-cloud
总纲:https://cloud.spring.io/spring-cloud-static/Finchley.SR2/single/spring-cloud.html
Java: 1.8 +
MAVEN: 3.5.0 +
Spring Boot:2.0.7.RELEASE
Spring Cloud:Finchley
说明:Spring Cloud provides tools for developers to quickly build some of the common patterns in distributed systems (e.g. configuration management, service discovery, circuit breakers, intelligent routing, micro-proxy, control bus). Coordination of distributed systems leads to boiler plate patterns, and using Spring Cloud developers can quickly stand up services and applications that implement those patterns. They will work well in any distributed environment, including the developer’s own laptop, bare metal data centres, and managed platforms such as Cloud Foundry.
Spring Cloud为开发人员提供了快速构建分布式系统中一些常见模式的工具(例如配置管理,服务发现,断路器,智能路由,微代理,控制总线)。
分布式系统的协调导致锅炉板模式,使用Spring Cloud开发人员可以快速站起来实现这些模式的服务和应用程序。
它们适用于任何分布式环境,包括开发人员自己的笔记本电脑,裸机数据中心和Cloud Foundry等托管平台。(谷歌翻译)
本项目地址:https://github.com/wsk1103/my-spring-cloud
接下来开始构建spring cloud的maven项目
构建主MAVEN项目
该主项目的作用是后续的子模块项目都可以直接引用父模块中声明的jar包,而不需要重复声明。
亦作版本统一控制管理。
1. file -> new -> project -> spring Initializr
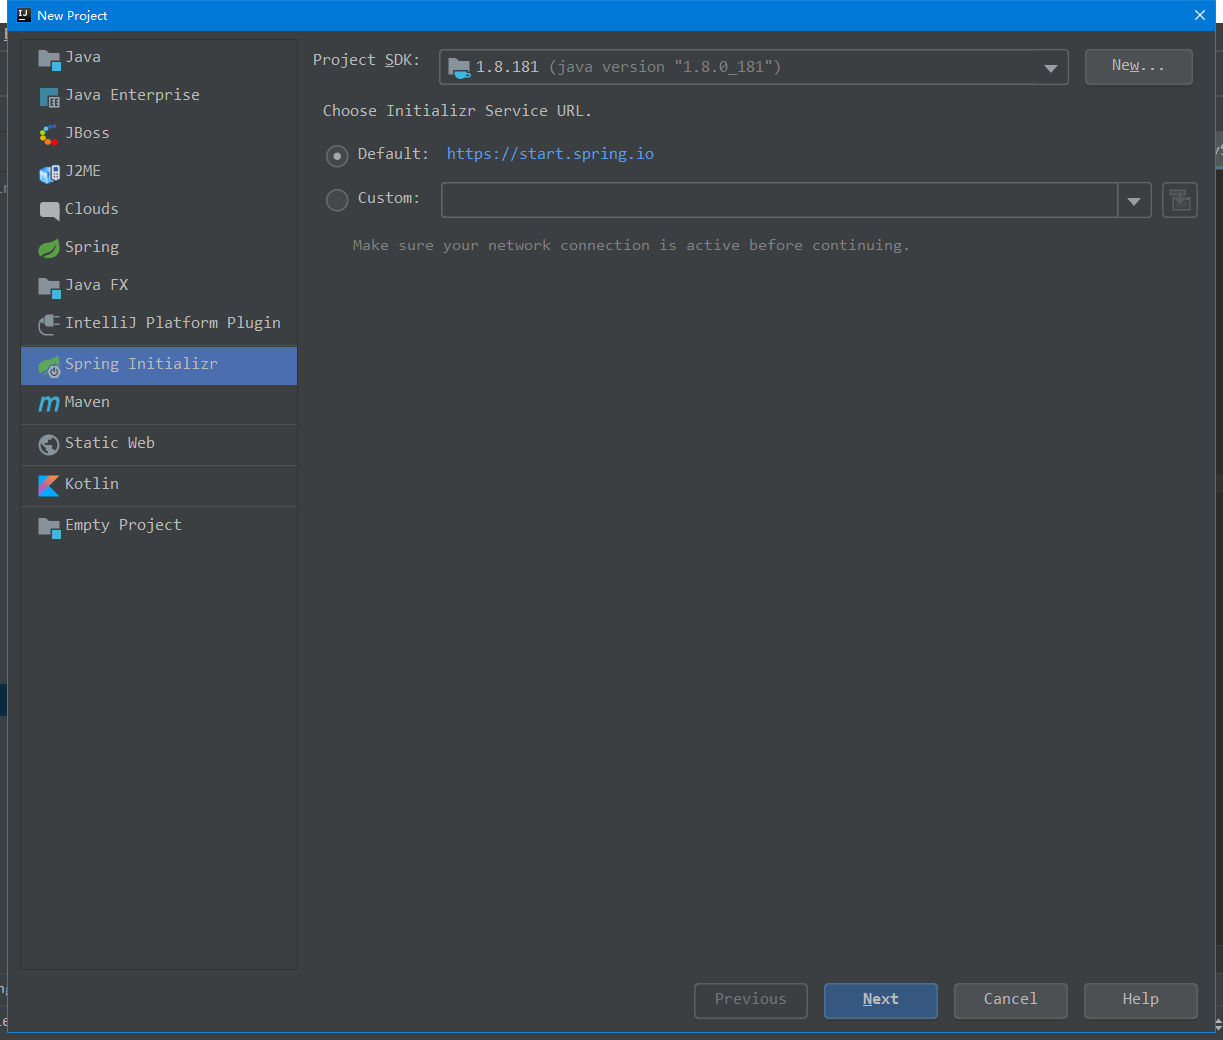
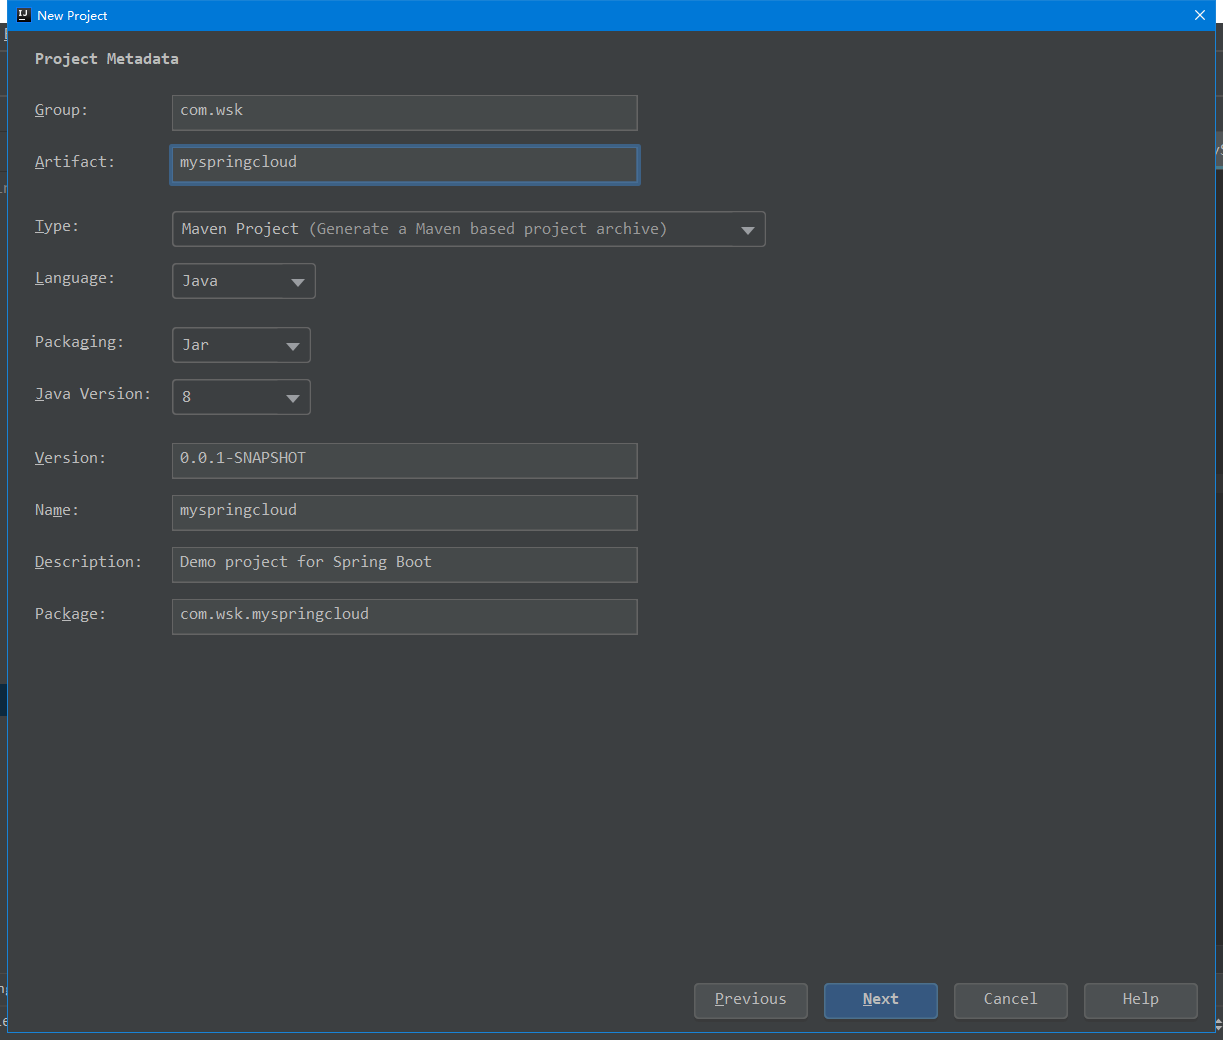
2. 命名该项目。例如my-spring-cloud
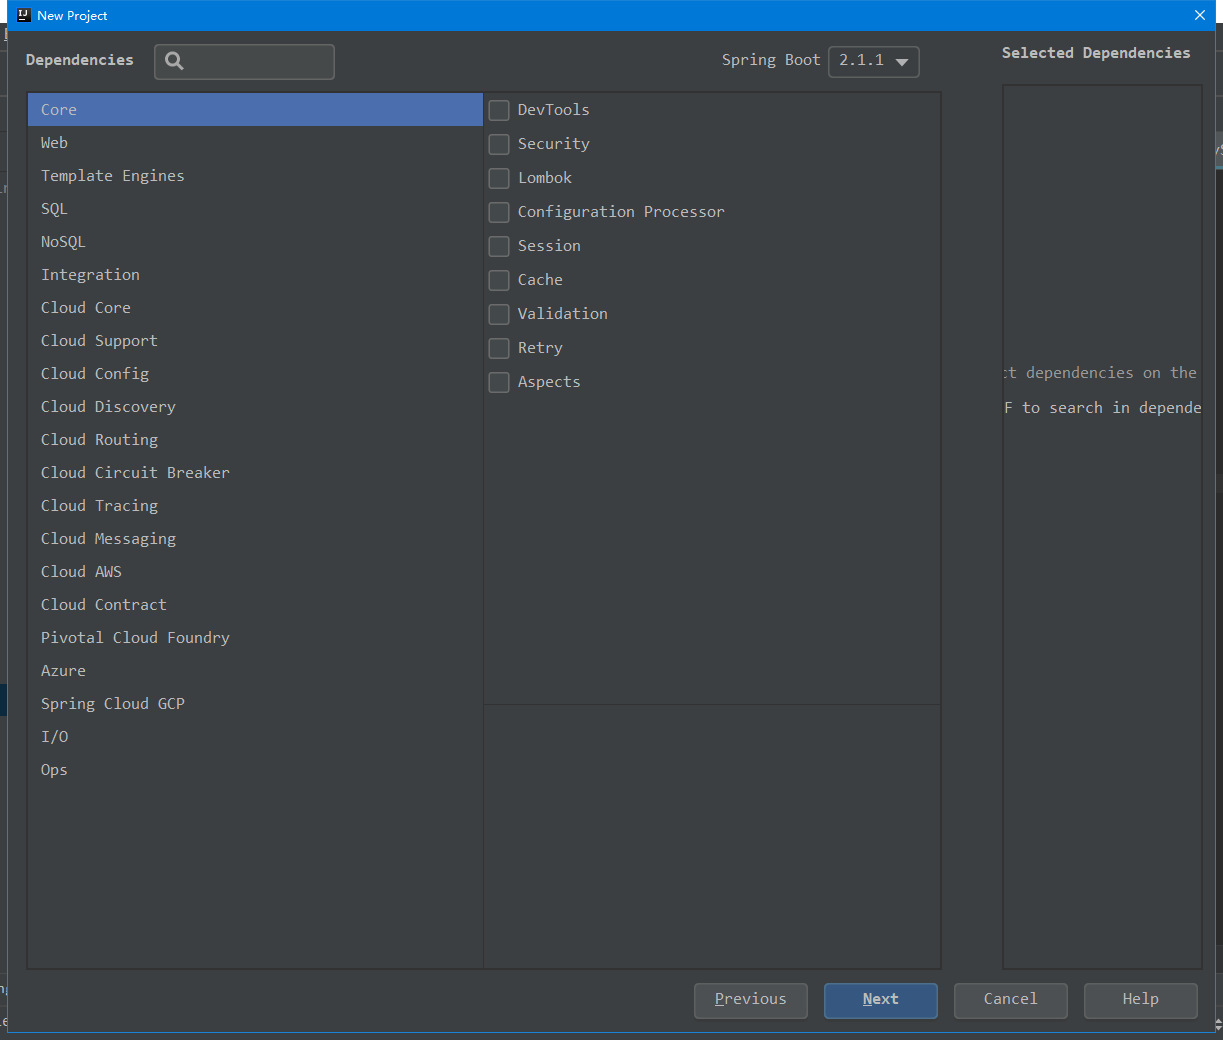
3. 什么都不用选
4. 修改pom.xml,需要注意的是该主项目需要被打包为pom模式,所以需要在packaging中声明为pom。
1
2
3
4
5
6
7
8
9
10
11
12
13
14
15
16
17
18
19
20
21
22
23
24
25
26
27
28
29
30
31
32
33
34
35
36
37
38
39
40
41
42
43
44
45
46
47
48
49
50
51
52
53
54
55
56
57
58
59
60
61
62
63
64
65
66
67
<?xml version="1.0" encoding="UTF-8"?>
<project xmlns="http://maven.apache.org/POM/4.0.0"
         xmlns:xsi="http://www.w3.org/2001/XMLSchema-instance"
         xsi:schemaLocation="http://maven.apache.org/POM/4.0.0 http://maven.apache.org/xsd/maven-4.0.0.xsd">
    <modelVersion>4.0.0</modelVersion>

    <groupId>my-spring-cloud</groupId>
    <artifactId>MySpringCloud</artifactId>
    <version>1.0-SNAPSHOT</version>

    <packaging>pom</packaging>

    <parent>
        <groupId>org.springframework.boot</groupId>
        <artifactId>spring-boot-starter-parent</artifactId>
        <version>2.1.1.RELEASE</version>
        <relativePath/>
    </parent>

    <modules>
        <module>server</module>
        <module>client</module>
    </modules>

    <properties>
        <project.build.sourceEncoding>UTF-8</project.build.sourceEncoding>
        <project.reporting.outputEncoding>UTF-8</project.reporting.outputEncoding>
        <java.version>1.8</java.version>
        <spring-cloud.version>Finchley.RELEASE</spring-cloud.version>
    </properties>

    <dependencies>
        <dependency>
            <groupId>org.springframework.boot</groupId>
            <artifactId>spring-boot-starter-test</artifactId>
            <scope>test</scope>
        </dependency>
        <!-- 这里声明的所有的jar,都会被作用于子项目,例如该lombok -->
        <dependency>
            <groupId>org.projectlombok</groupId>
            <artifactId>lombok</artifactId>
            <optional>true</optional>
        </dependency>
    </dependencies>

    <dependencyManagement>
        <dependencies>
            <dependency>
                <groupId>org.springframework.cloud</groupId>
                <artifactId>spring-cloud-dependencies</artifactId>
                <version>${spring-cloud.version}</version>
                <type>pom</type>
                <scope>import</scope>
            </dependency>
        </dependencies>
    </dependencyManagement>


    <build>
        <plugins>
            <plugin>
                <groupId>org.springframework.boot</groupId>
                <artifactId>spring-boot-maven-plugin</artifactId>
            </plugin>
        </plugins>
    </build>
</project>
构建子项目server:服务注册中心
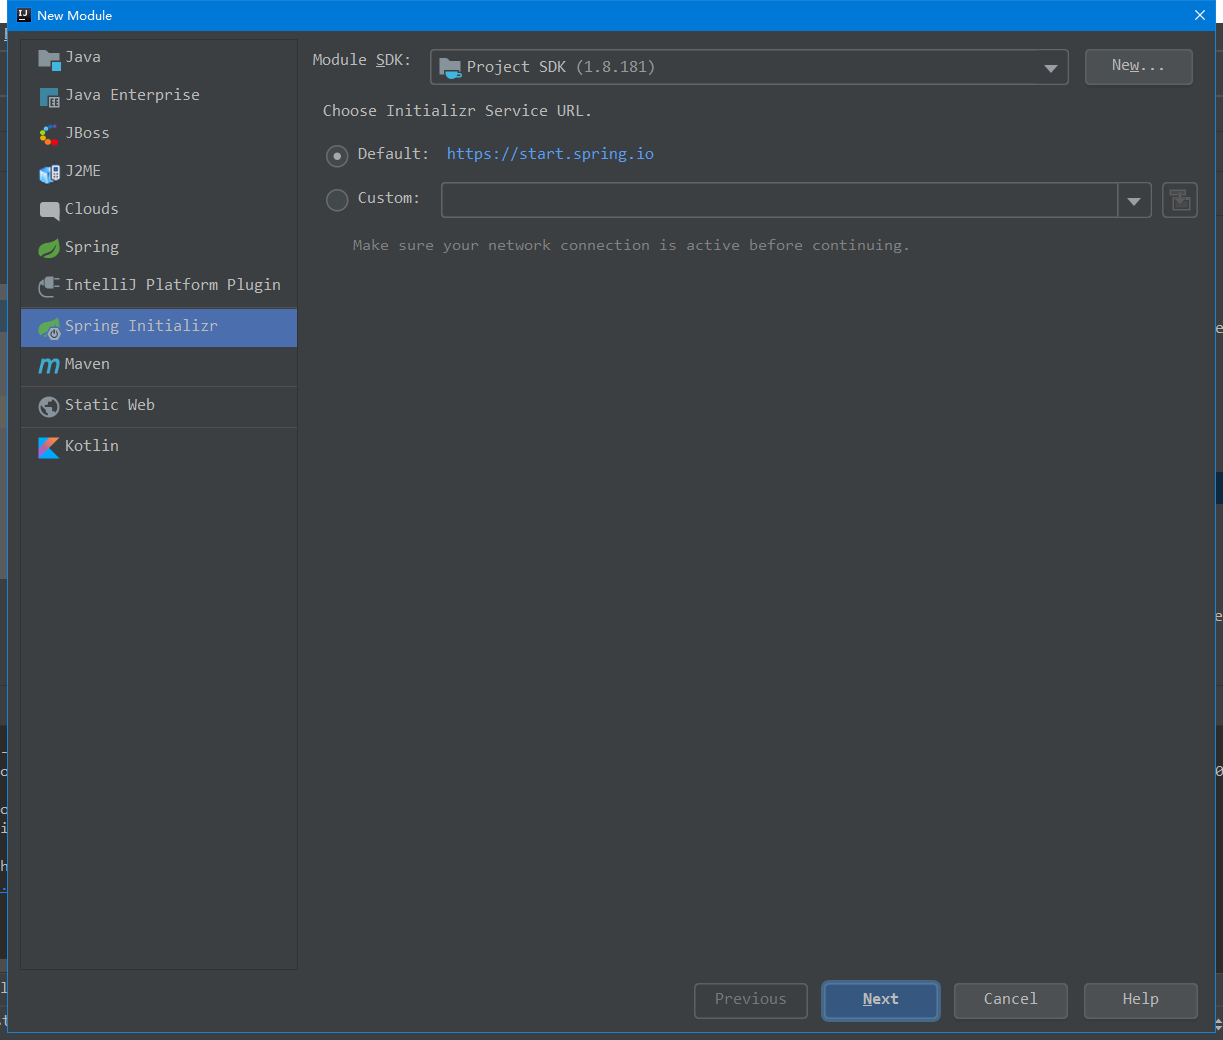
1. file -> new -> module -> spring Initializr
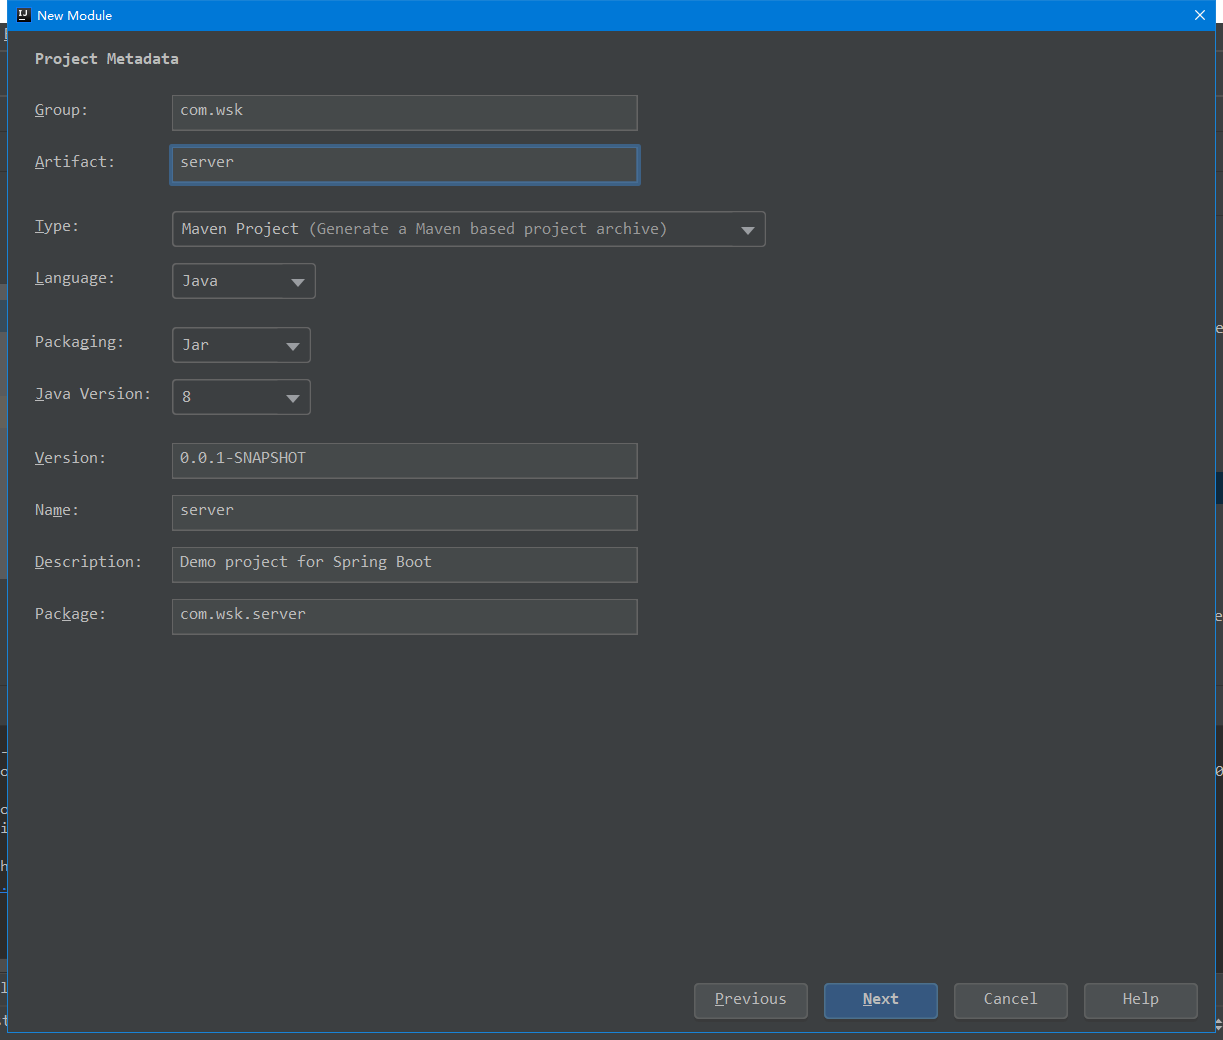
2. 修改子项目server的pom:主要是父项目声明改为主项目,并且添加依赖
1
2
3
4
5
6
7
8
9
10
11
12
13
14
15
16
17
18
19
20
21
22
23
24
25
26
27
28
29
30
<?xml version="1.0" encoding="UTF-8"?>
<project xmlns="http://maven.apache.org/POM/4.0.0" xmlns:xsi="http://www.w3.org/2001/XMLSchema-instance"
         xsi:schemaLocation="http://maven.apache.org/POM/4.0.0 http://maven.apache.org/xsd/maven-4.0.0.xsd">
    <modelVersion>4.0.0</modelVersion>

    <groupId>com.wsk</groupId>
    <artifactId>server</artifactId>
    <version>0.0.1-SNAPSHOT</version>
    <packaging>jar</packaging>

    <name>server</name>
    <description>Demo project for Spring Boot</description>

    <parent>
        <groupId>my-spring-cloud</groupId>
        <artifactId>MySpringCloud</artifactId>
        <version>1.0-SNAPSHOT</version>
    </parent>


    <dependencies>
        <dependency>
            <groupId>org.springframework.cloud</groupId>
            <artifactId>spring-cloud-starter-netflix-eureka-server</artifactId>
        </dependency>
    </dependencies>


</project>
3. 重命名application.properties为application.yml
增加配置
1
2
3
4
5
6
7
8
9
10
11
12
13
14
15
16
17
18
server:
  port: 8761

eureka:
  instance:
  # 本地服务器地址
    hostname: localhost
  client:
  # 表示是否注册自身到eureka服务器,因为当前这个应用就是eureka服务器,没必要注册自身
    registerWithEureka: false
    fetchRegistry: false
    # 默认地址
    serviceUrl:
      defaultZone: http://${eureka.instance.hostname}:${server.port}/eureka/
# 在注册中心的命名
spring:
  application:
    name: eurka-server
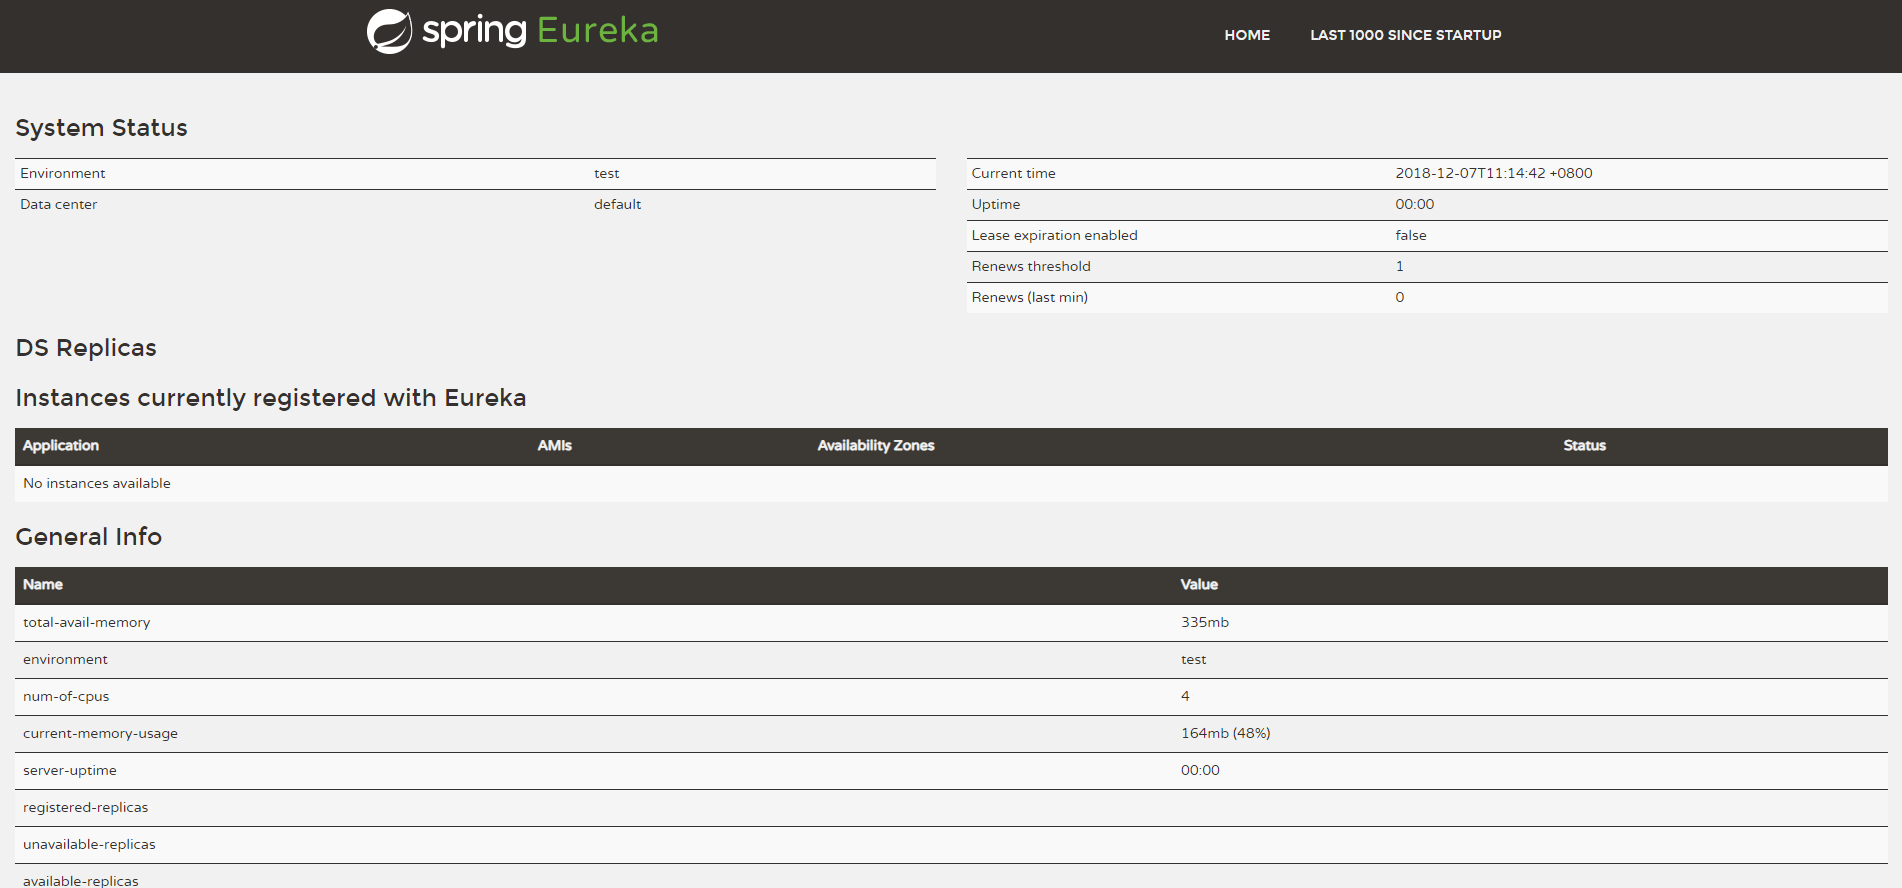
4. 启动ServerApplication,访问 http://localhost:8761/
需要在ServerApplication上增加注解@EnableEurekaServer
1
2
3
4
5
6
7
8
9
10
11
12
13
14
15
16
package com.wsk.server;

import org.springframework.boot.SpringApplication;
import org.springframework.boot.autoconfigure.SpringBootApplication;
import org.springframework.cloud.netflix.eureka.server.EnableEurekaServer;

@SpringBootApplication
//声明为一个服务注册中心
@EnableEurekaServer
public class ServerApplication {

    public static void main(String[] args) {
        SpringApplication.run(ServerApplication.class, args);
    }
}
当前没有任何服务注册到该注册中心。
构建子项目client:客户端
1. file -> new -> module -> spring Initializr
同上
2. 修改子项目client的pom:主要是父项目声明改为主项目,并且添加依赖
1
2
3
4
5
6
7
8
9
10
11
12
13
14
15
16
17
18
19
20
21
22
23
24
25
26
27
28
29
30
31
32
33
34
35
36
37
38
39
40
41
42
43
44
45
46
47
<?xml version="1.0" encoding="UTF-8"?>
<project xmlns="http://maven.apache.org/POM/4.0.0" xmlns:xsi="http://www.w3.org/2001/XMLSchema-instance"
         xsi:schemaLocation="http://maven.apache.org/POM/4.0.0 http://maven.apache.org/xsd/maven-4.0.0.xsd">
    <modelVersion>4.0.0</modelVersion>

    <groupId>com.wsk</groupId>
    <artifactId>client</artifactId>
    <version>0.0.1-SNAPSHOT</version>
    <packaging>jar</packaging>

    <name>client</name>
    <description>Demo project for Spring Boot</description>

    <parent>
        <groupId>my-spring-cloud</groupId>
        <artifactId>MySpringCloud</artifactId>
        <version>1.0-SNAPSHOT</version>
    </parent>

    <properties>

    </properties>

    <dependencies>
        <dependency>
            <groupId>org.springframework.cloud</groupId>
            <artifactId>spring-cloud-starter-netflix-eureka-client</artifactId>
        </dependency>
        <dependency>
            <groupId>org.springframework.boot</groupId>
            <artifactId>spring-boot-starter-web</artifactId>
        </dependency>

    </dependencies>

    <build>
        <plugins>
            <plugin>
                <groupId>org.springframework.boot</groupId>
                <artifactId>spring-boot-maven-plugin</artifactId>
            </plugin>
        </plugins>
    </build>


</project>
3. 重命名application.properties为application.yml
增加配置
1
2
3
4
5
6
7
8
9
10
11
12
server:
  port: 8762

spring:
  application:
    name: service-client

# 注册中心的地址
eureka:
  client:
    serviceUrl:
      defaultZone: http://localhost:8761/eureka/
4. 修改ClientApplication并启动
在ClientApplication上添加注解
@EnableEurekaClient 和
@RestController
1
2
3
4
5
6
7
8
9
10
11
12
13
14
15
16
17
18
19
20
21
22
23
24
25
26
27
28
29
30
package com.wsk.client;

import org.springframework.beans.factory.annotation.Value;
import org.springframework.boot.SpringApplication;
import org.springframework.boot.autoconfigure.SpringBootApplication;
import org.springframework.cloud.netflix.eureka.EnableEurekaClient;
import org.springframework.web.bind.annotation.RequestMapping;
import org.springframework.web.bind.annotation.RequestParam;
import org.springframework.web.bind.annotation.RestController;

@SpringBootApplication
//声明这是一个服务客户端
@EnableEurekaClient
@RestController
public class ClientApplication {

    public static void main(String[] args) {
        SpringApplication.run(ClientApplication.class, args);
    }

    @Value("${server.port}")
    String port;

    @RequestMapping("/hi")
    public String home(@RequestParam(value = "name", defaultValue = "sky") String name) {
        return "hi " + name + " ,i am from port:" + port;
    }

}
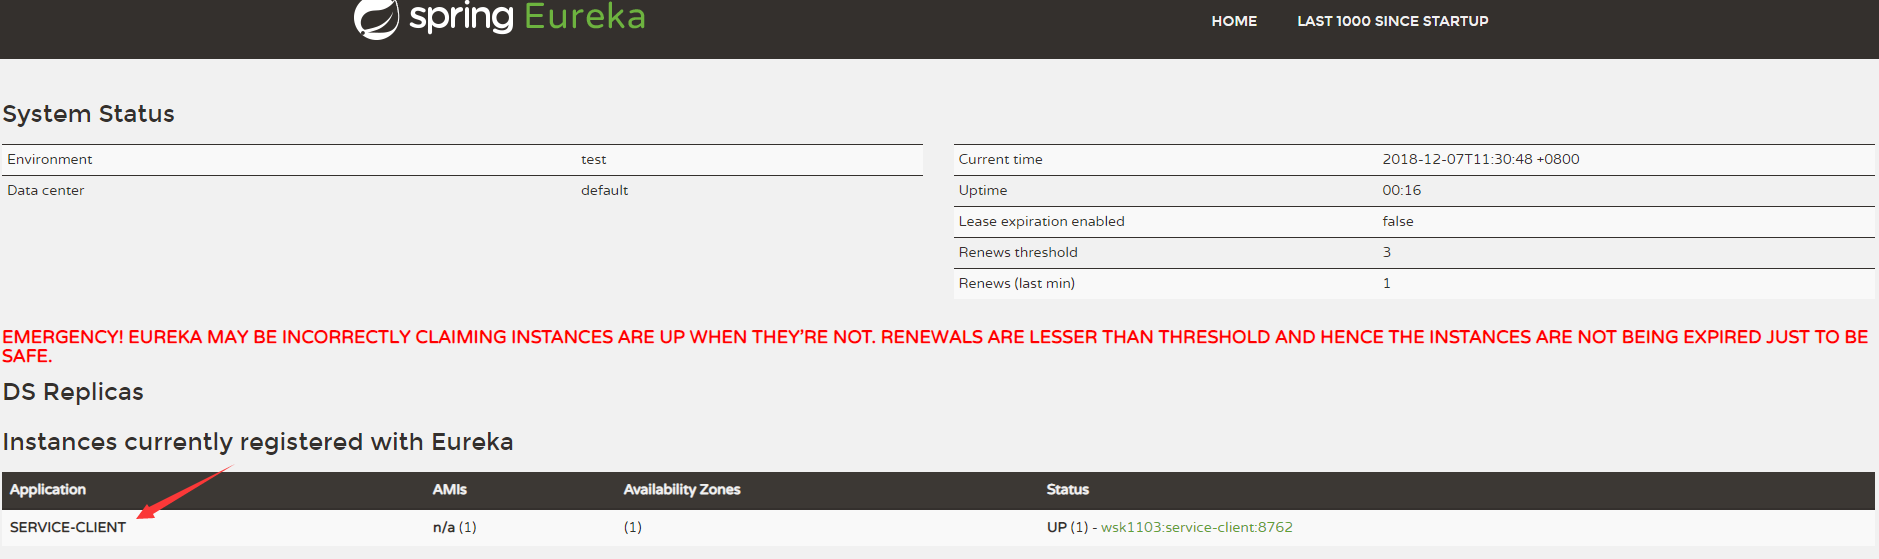
5. 刷新 http://localhost:8761/
可以看到service-client已经注册到注册中心
6. 访问 http://localhost:8762/hi?name=go
页面回显
1
hi go ,i am from port:8762